Setting Up a Low-Cost Sensory Play Station at Home

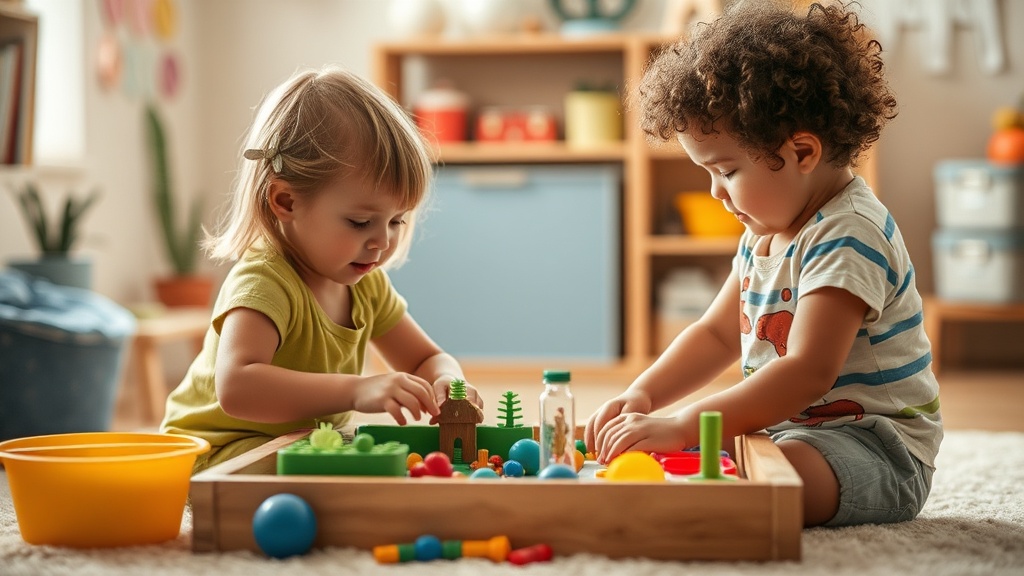
Are you tired of spending a fortune on expensive, plastic-heavy sensory kits that your toddler abandons after ten minutes? This guide shows you how to build a high-quality sensory station using everyday household items and affordable-to-low-cost materials. Sensory play isn't just about making a mess—it's a fundamental way for children to learn about textures, weight, and volume through hands-on experience.
You don't need a boutique subscription box to keep your child engaged. Most of the best tactile experiences come from things you already have in your pantry or recycling bin. We'll look at what materials work best, how to set up a station without ruining your living room rug, and how to keep the costs down.
What are the best materials for sensory bins?
The best materials for sensory bins are inexpensive, non-toxic, and easy to clean up. You can find a huge variety of textures in your kitchen or at the local grocery store without breaking the bank.
Rice is a classic for a reason. It's cheap, easy to find, and provides a consistent texture for scooping and pouring. If you want to get creative, you can dye the rice using a few drops of food coloring and a splash of white vinegar. It's much cheaper than buying pre-colored sensory rice from a specialty toy store.
Other great base materials include:
- Dried Beans: Chickpeas or kidney beans offer a different weight and texture than rice.
- Oatmeal: Great for a softer, more "squishy" tactile experience.
- Kinetic Sand: If you want something more premium, a brand like Kinetic Sand provides a unique, moldable texture that stays together.
- Water Beads: These are highly engaging but require much more supervision due to choking hazards.
- Pasta: Dry macaroni or fusilli can be used for different shapes and textures.
A quick note on safety: always check the CDC milestones regarding developmental stages to ensure your child is at an age where they can safely handle these small objects without a high risk of ingestion. If your child still puts everything in their mouth, stick to much larger items like oversized pasta or even large pom-poms.
How much does a sensory station cost to build?
A complete sensory station can be built for under $20 if you shop your own pantry and the dollar store. You don't need to buy a specialized "sensory table" to get the job done.
Most parents think they need to buy a dedicated piece of furniture, but a simple plastic storage bin or a shallow baking tray works just as well. In fact, a heavy-duty storage bin from a brand like Sterilite is often more durable and easier to move around than a flimsy wooden sensory table. You can find these at most big-box retailers for a few dollars.
Here is a quick breakdown of potential costs for different setups:
| Setup Type | Estimated Cost | Key Components |
|---|---|---|
| The Pantry Method | $0 - $5 | Rice, beans, or flour from your kitchen. |
| The Dollar Store Route | $10 - $15 | Plastic bins, scoops, and small plastic animals. |
| The Semi-Premium Kit | $30 - $40 | Kinetic sand, specialized tools, and branded textures. |
The goal is to keep the overhead low. If a sensory activity ends up being a "one-hit wonder" (which happens—don't take it personally), you won't feel the sting of a wasted investment. You can always rotate through different textures to keep things fresh.
How do you prevent the mess from spreading?
Containment is the secret to keeping your sanity while your child plays. If you don't have a plan for the mess, you'll spend more time cleaning than actually enjoying the playtime.
The first rule of sensory play: use a tray or a bin. A high-sided plastic tray or a large, shallow Tupperware-style container keeps the grains and liquids contained. If you're working on a hardwood floor, a cheap shower curtain liner or a large towel can act as a "splash zone." This is a lifesaver when you're using water or dyed rice. It's much easier to shake out a towel than to scrub a rug.
Another trick is the "station boundary." Instead of letting the play happen anywhere, designate a specific area—like a high chair or a specific corner of the kitchen floor. This sets a physical limit for the child. It also makes it easier for you to step in and say, "The rice stays in the tray."
If you're worried about the cleanup, keep a small handheld brush and dustpan nearby. It makes sweeping up stray rice or beans much faster. It's a small win that keeps the house from feeling like a disaster zone every time the kids play. This mindset is very similar to finding joy in the chaos of playtime—it's about managing the mess so you can actually enjoy the moment.
Top Tips for Success
- Rotate your bins: Don't bring out every material at once. Keep one out and keep others in the cupboard. This keeps the novelty alive.
- Add "tools": Don't just use hands. Add spoons, whisks, tongs, or even old measuring cups. This builds fine motor skills.
- Change the temperature: Sometimes, adding ice or warm water to a bin can change the entire sensory experience.
- Use "found" objects: Rocks, sticks, or even large seashells can add a natural element to your station.
One thing to keep in mind: sensory play can be quite loud. If you're using metal spoons against a plastic bin, it's going to create a rhythm. Sometimes that's great for their development, but if you're trying to nap through a midday session, maybe opt for silicone tools or wooden spoons instead. It's a small adjustment that makes a huge difference for your own stress levels.
When you're setting up these stations, don't feel pressured to make them look "Pinterest-perfect." A messy, slightly disorganized bin of dried lentils and a plastic dinosaur is just as developmentally valuable as a perfectly curated, color-coordinated set. The value is in the texture and the exploration, not the aesthetic. Your child isn't looking at the photo shoot quality—they're looking at how the lentils feel between their fingers.
If you find yourself needing to keep the kids occupied while you're on the go, remember that these concepts can travel. You can adapt a sensory bin into a smaller, more portable version for travel-related stress. It's worth looking into creating a stress-free travel kit if you want to take these tactile experiences on the road. A simple, small container of playdough or a small bag of dried beans can be a lifesaver in a car or a plane.
Ultimately, the best sensory station is the one that's easy for you to set up and easy for you to clean up. If it becomes a chore, you won't do it. Keep it simple, keep it cheap, and keep it contained.